Build Your Own Simple and Affordable Photo Studio (Part-02)
Affordable photo studio now we can build easily. Now take into account that you can already buy a tripod for only a couple of dollars, then this is an investment that cannot be overlooked and will save you a lot of frustration for all shoots to come.
4. White Paper an Affordable Photo Studio
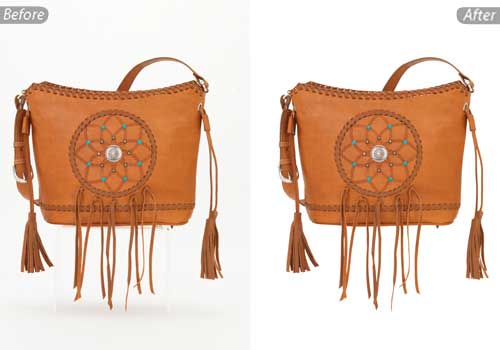
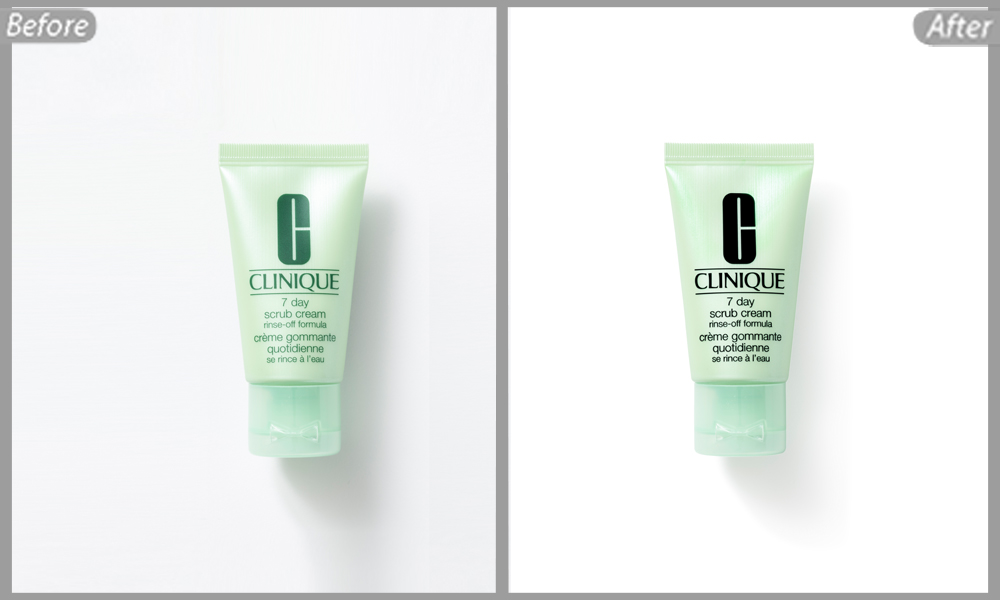
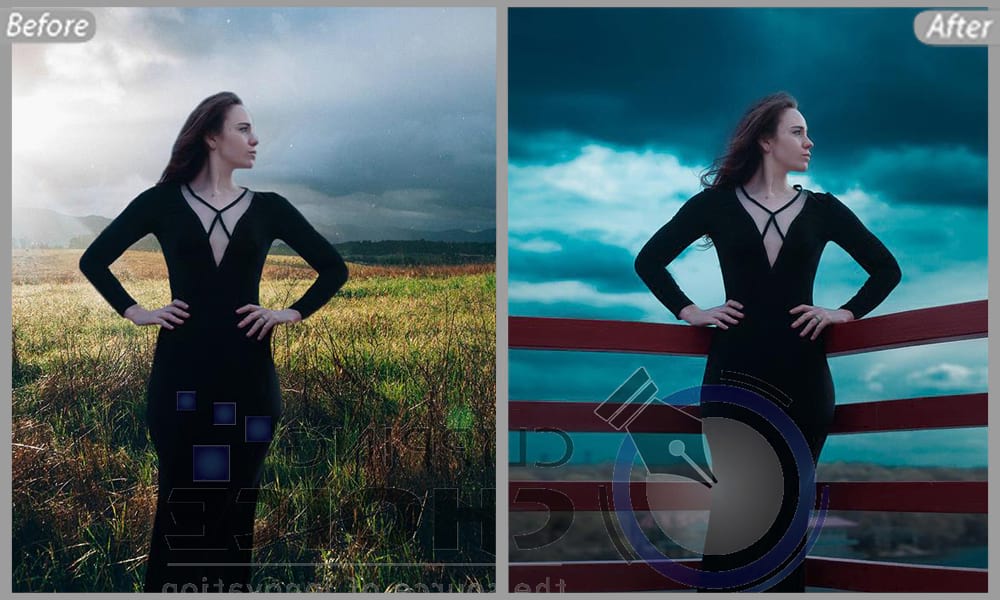
The image backdrop is never perfect (white) without photo editing but you want the best base for shooting good product images. A white backdrop is easily realized with a roll of white paper. We advise you to make sure the size of the roll is large enough so you cover your complete range of products.
Another great advantage of using a white backdrop through a roll of white paper is that the backdrop is now curved, avoiding unnatural shadows on your product which would exist if shooting before let us say a simple wall.
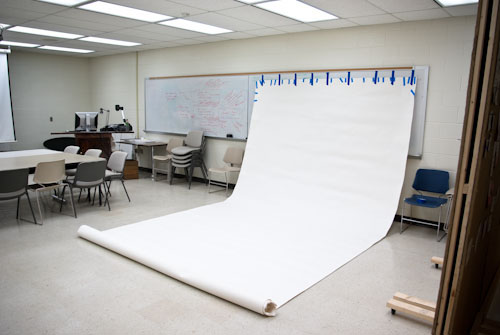
It all comes down to this: more consistency in your product shoot, better-looking product images and with less product image editing. Ready to sell more!
Where to buy such a roll of white paper? You don’t have to look far, every photography equipment store has a wide range of backdrops. As already mentioned, just make sure it’s sufficiently large in both width and length and you are good to go.
5. Duct Tape
Obvious right? You will need to attach the roll of white paper against your wall so search for some tape or duct tape, make sure you don’t damage your wall but what’s more to say?
Maybe this. Make sure the paper does not come down so make sure it is attached solidly so your setup holds and you can keep on shooting in your self-build photo studio. You want consistency and if you are not a pro the learning curve is guaranteed when your setup does not change too much.
6. Reflection Plate
The last item, the reflection material or reflector plate is something that is overlooked by most people but a great asset for your budget-friendly photo studio. Because we are using natural sunlight, remember we’re on a budget, we’ll let the sun reflect against the so-called reflector plate so the backside of your product is less influenced by shadows and light is more evenly distributed over your product.
Finally, have a look at the result with and without a reflector plate. See the difference? By positioning the reflector plate on the rear side of your product it will capture sunlight in an indirect way but just enough to remove the unwanted shadows on your product.
So that’s it, a simple and affordable photo studio setup with a couple of basic items of which you will probably have some laying around. Ready to improve your product images and taking it to the next level.
