The best and easiest photo retouching techniques part-1
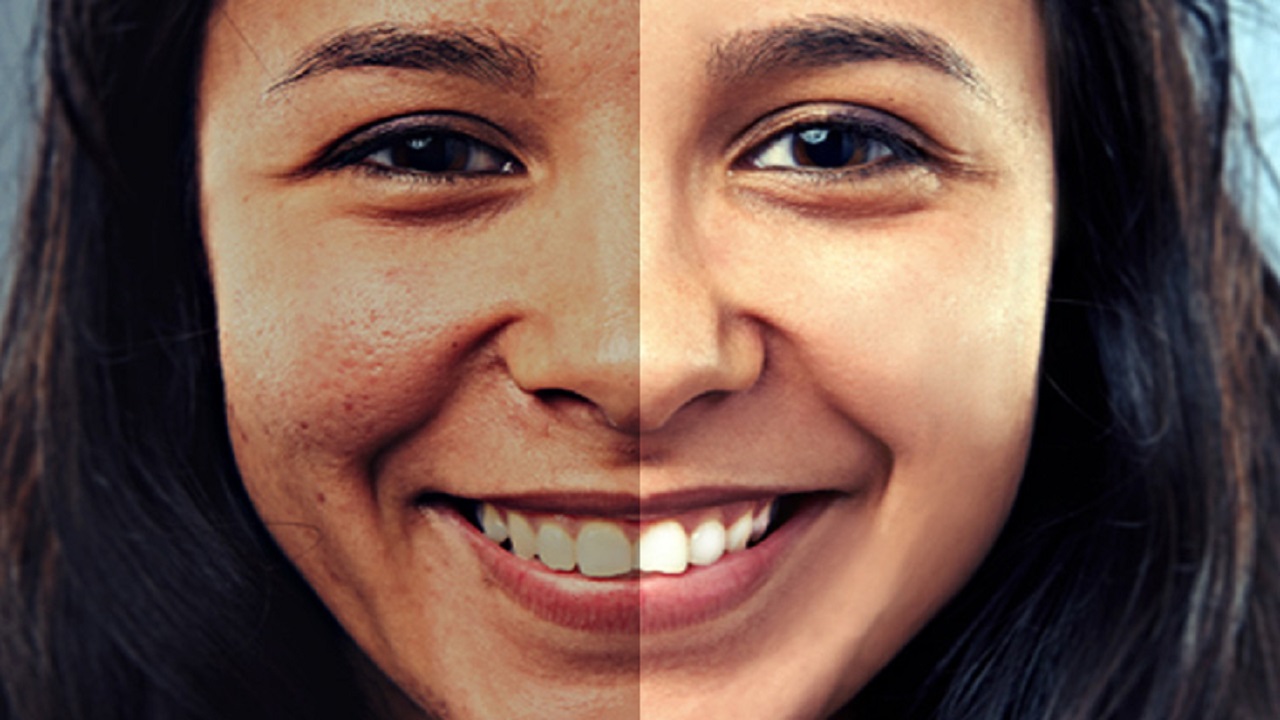
Photo-editing could be an enjoyable process and the steps are usually hashed out a million times on the Internet. Before you reach for that given “filter” of your photo-editing software, the best practice would be to just look at your photo, and decide what you want your photo to do:
Would you prefer to edit it such that it best mirrors what the scene looked in reality when you captured it in your frame?
The camera cannot capture what the human eye sees, so oftentimes we need to change the hue, saturation, contrast, etc levels to bring it as closer to reality as we can.
Or would you want your photo to say something different?
This is often done when you want to dramatize a particular scene and could play with the shadows or color levels. Making a photo black-and-white doesn’t mirror reality (reality is in color) but we make it black and white to emphasize something or do something else in our photos.
After you ask yourselves these questions, the answer to which needn’t be the same for a batch of photos taken in the same opportunity, I’d start with some basic stuff as follows:
-
A good crop equates a good yield:
Look at the frame of your photo in question. Is it saying something interesting? Could it be made more interesting? Can you make a crop so as to bring in Rule of thirds? How are the spaces around the subject help (or doesn’t help) the photo?
Also, feel free to crop out faces or anything that is traditionally taught not to do. A good rule of photography is to learn the rules well so that you can break them when you feel it’s necessary to make your photos speak. In the following photo, for example, I cropped out the face of the model, because I wanted the body posture to do the talking instead of the audience attention going to the face.
-
Play with your shadows and warmth:
The option of controlling shadows and warmth is there in any free photo-editing software and those are useful tools. If your light messes with your white balance in camera or something comes across as too washed out (with light), adding warmth helps.
For example, adding warmth could make objects in warm colors more appealing or appetizing. The left photo includes a picture of Gulab jamun I had made, and the usual white light washed out some warm tones. Adding on some warmth (visible in the photo on right) can make the same picture stand out.
Playing with the shadow slider is also a good way to see how it helps to dramatize your photos.
In the top picture below, there is more shadow, in the bottom picture of cereals, there is more warmth. Both of these photos could be used, based on what you want to tell through them. The bottom picture looks happy and sunshine to me. The top picture looks a bit “intrigued” or has a bit of “drama”.
So these were all for today, hope these tips will help you to get your photos done more flawlessly and we will get back to you in our next article on Easiest way to retouch a photo very soon! Till then stay tuned with clippingchoice.com!


