The age of technology has provided human civilization with many wonders and made everything easy for us. Clipping path services is one of them and the many tools available for image editing are no exception.
These tools could be used for making modifications in images to portray the best of the subject in the final output. Clipping choice services have been included in the trend as a notable favourite of commercial product photographers.
Clipping path enables photographers and editors to utilize a specific portion of the product image in different designs. A detailed evaluation of the clipping path services, steps to create it and other implications associated with it could provide insights into one of the notable wonders of image editing.
What is Clipping Path?
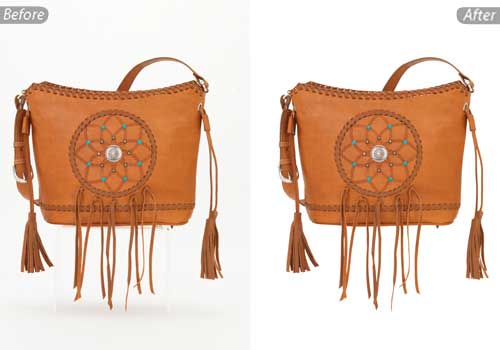
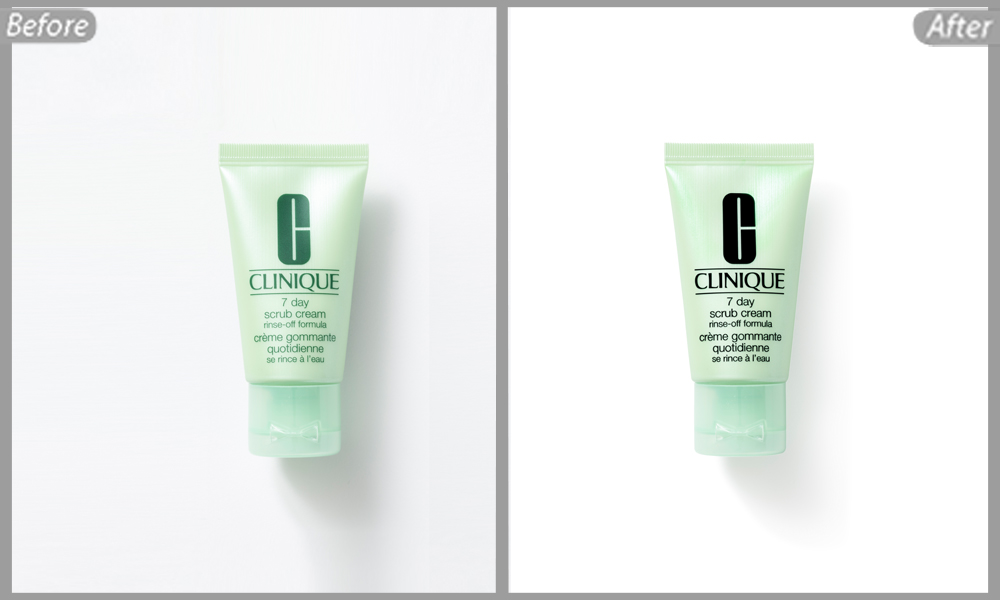
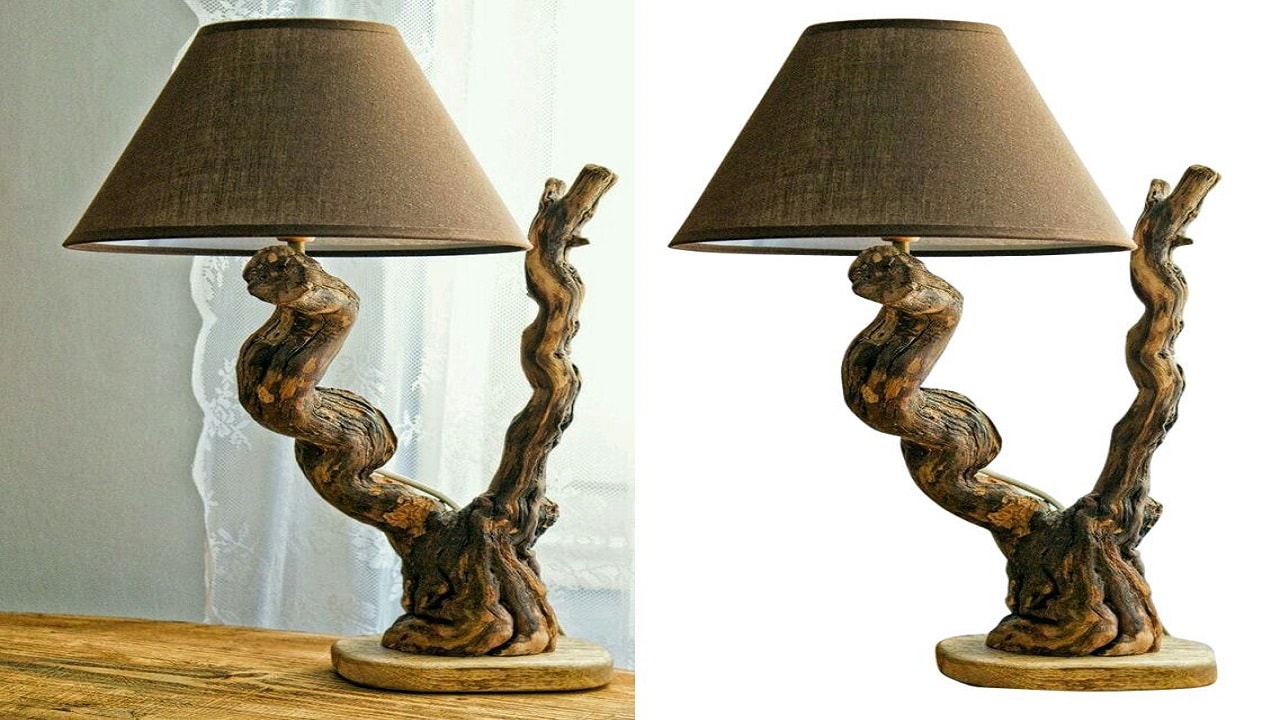
Clipping path service is a tool that is available in Adobe Photoshop. It is created by using the Pen Tool and making a line around the subject of the image. After this, the background of the subject is removed and is utilized for different designs for marketing or promotional materials. Snipping path also provide essential functionality of enhancing or rectifying colours in the images of products or other photos.
How to Create a Clipping Path?
Now that the use of clipping path services is clear, it would be reasonable to take note of the process. In the case of Adobe Photoshop CS5, the following steps are used.
- Outline a path around the specific portion of the image by using the Pen tool.
- Select the Save Path option from the panel menu in the Paths panel and name it.
- Select the Clipping Path option from the Paths panel menu.
- Select the path from the drop-down list in the Clipping Paths dialogue box and then click ‘OK.’
- After choosing ‘Save As’ from the File menu, select Photoshop EPS from the Format drop-down list. The EPS Options dialogue box would appear and then select OK after accepting the defaults.

Creating a snipping path is also easier and faster in other applications of Adobe such as Illustrator and InDesign. Here are the steps to do so:
- Layers panel and then click the Add Layer Mask button followed by another click that results Create a path by following the usual method as described above.
- Select the in the creation of a large vector mask.
- The file has to be saved in a .psd format.
- In the final stage select Place from the File menu for transferring the image along with its clipping path service into other applications.
Search for Excellence
The availability of many professional graphic designers and commercial product photography and design services has lowered the price ranges for clipping path services. But the essence lies in finding a reliable and competent service. A bit of research could go a long way in making the right choice!
Here is some point to be kept in mind before outsourcing the work for professional agencies.
- Files in PNG format could not be able to carry a path and clients could place requests for obtaining output images in the same format.
- Clients should also be aware of specifying between one or two pixels adjustment for the image and positioning exactly on edge.
Creation snipping path could seem to be an easy task by observing the information presented above. However, professional acumen is a necessary imperative to get results that could shine brightly in the market.