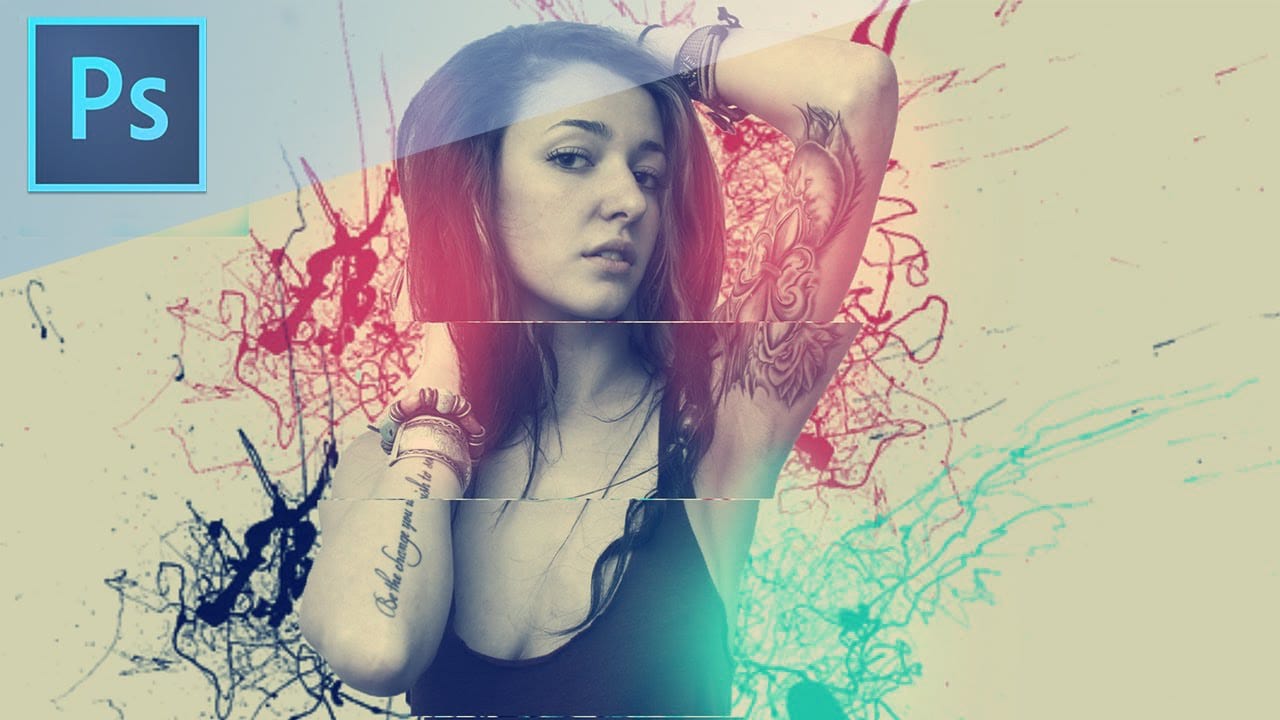
Our busy life hardly grants us the time to act on our wishes. You may like the shot on your camera but your big pores and harsh skin is coming on the way of posting it on your social media accounts. Worry no more! In this class, I will tell you my secrete of skin smoothening in just 30 seconds!
Remember the other article about having baby skin effect? Well even if you don’t I am giving you a whole reminder of the process here again. Just follow these easy steps.
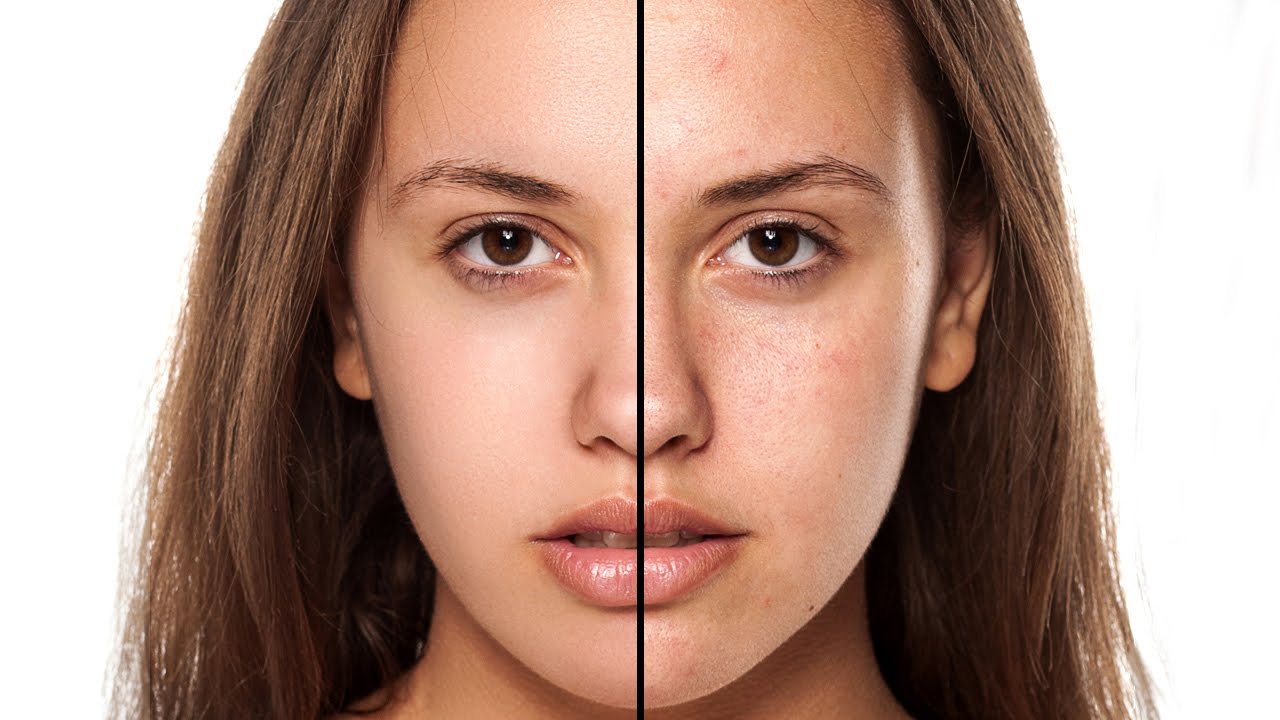
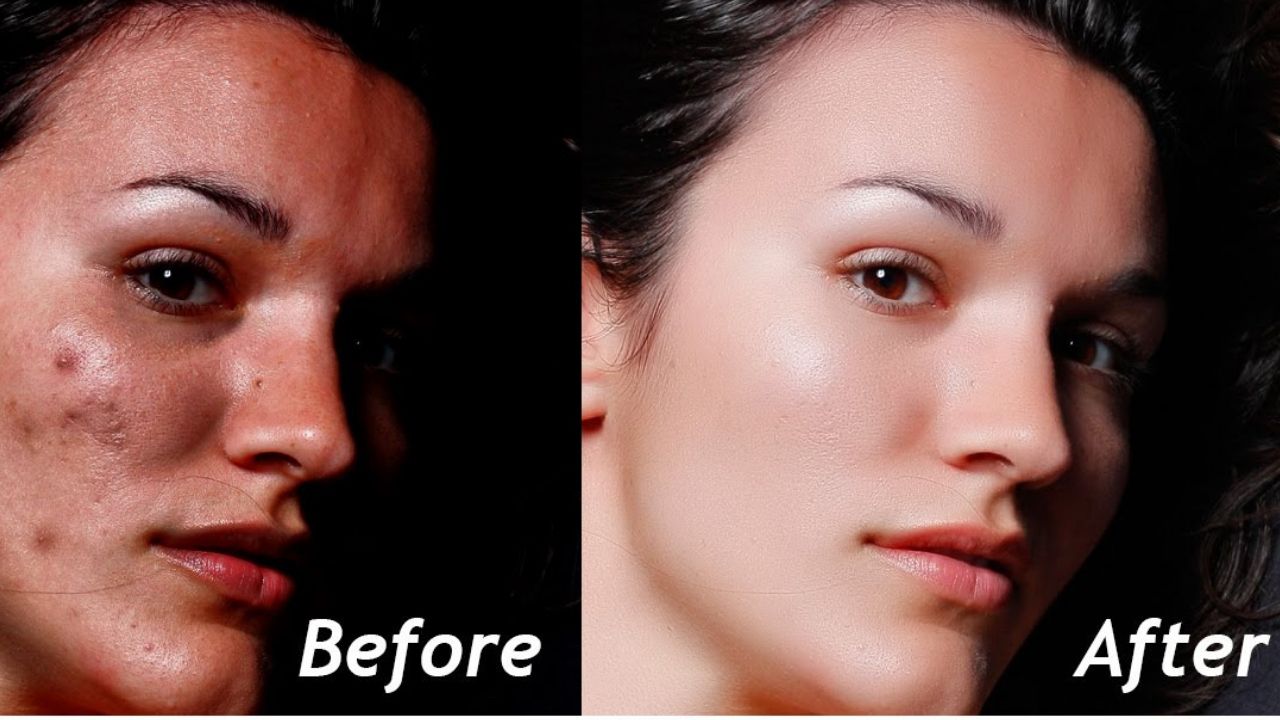
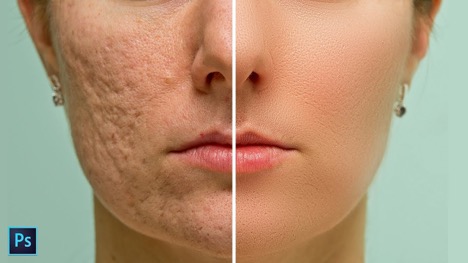
The skin smoothening effect we are going to learn is the best technique you will get on the whole internet! This technique will make your skin look smooth with the skin texture still intact. And the best part is it will take your 1 minute of time to complete the whole procedure.
So, let’s jump straight into it, the first you need to do is-
- Make a duplicate of the background layer
- To do that, press ctrl J
- Convert it ctrl I
Though your picture will look horrible now but, trust me soon you will get what you want.
Change the blend mode from normal to vivid light
Now this makes thing much more worse, but wait a little more!
- Go to filter
- Select other option
- Select high pass
- And set the value to 24
- Click OK
- Go to filter
- Go to blur
- Select Gaussian blur
- Keep the value around 3 and 4
Keep the value around such a number which accentuates the pores in the skin ant the skin texture as general. Too much of it is not good. That also introduces a lot of wrinkles. We don’t want too much of this.
Now there you are!
Now, the skin is smooth. But the problem is the skin smoothing is being applied to all over the image. Also applied to the hair applies on the clothes, applied on the eyes so it doesn’t look right.
Now, all you need to do is press and hold alt option and create a mask. Click on the current one, this creates a negative mask on it.
- Now select the mask
- Make sure the foreground color is white, if it’s not press D
- Start painting over the skin
- You can keep the floor art at round 40-50
- Now cover all the skin Areas
If you have tried these techniques for your previous image you will have to just do it again once!
- Now go to the windows
- Go to actions from there
- This will open the action dialog box.
You might don’t know that the action dialog box records your actions. All the process you have done earlier is recorded here. And when you will play it later it will repeat those actions.
So, now all you need to do is you need to do all the steps again but record it. So, click on the new action and name it ‘skin smoothening quick’ and if you want to set function key for it, for example f1 or f2 you can set that key for it when you press that key automatically skin will be smooth.
What we just did is we created a duplicate. Now press ctrl I change the blend mode to light and then filter other and follow the steps above. Now just open your image, select the background which might be already selected by default and click on the recording we created ‘Skin smoothening quick’ and play it!
And you are done! Now you will just have to move your brush on the skin of you or your model and all the skin smoothening hazards will be long gone.
Hope our tips were useful for you. If it was you can share it with your friends on social media. And stay tuned with clippingchoice.com.