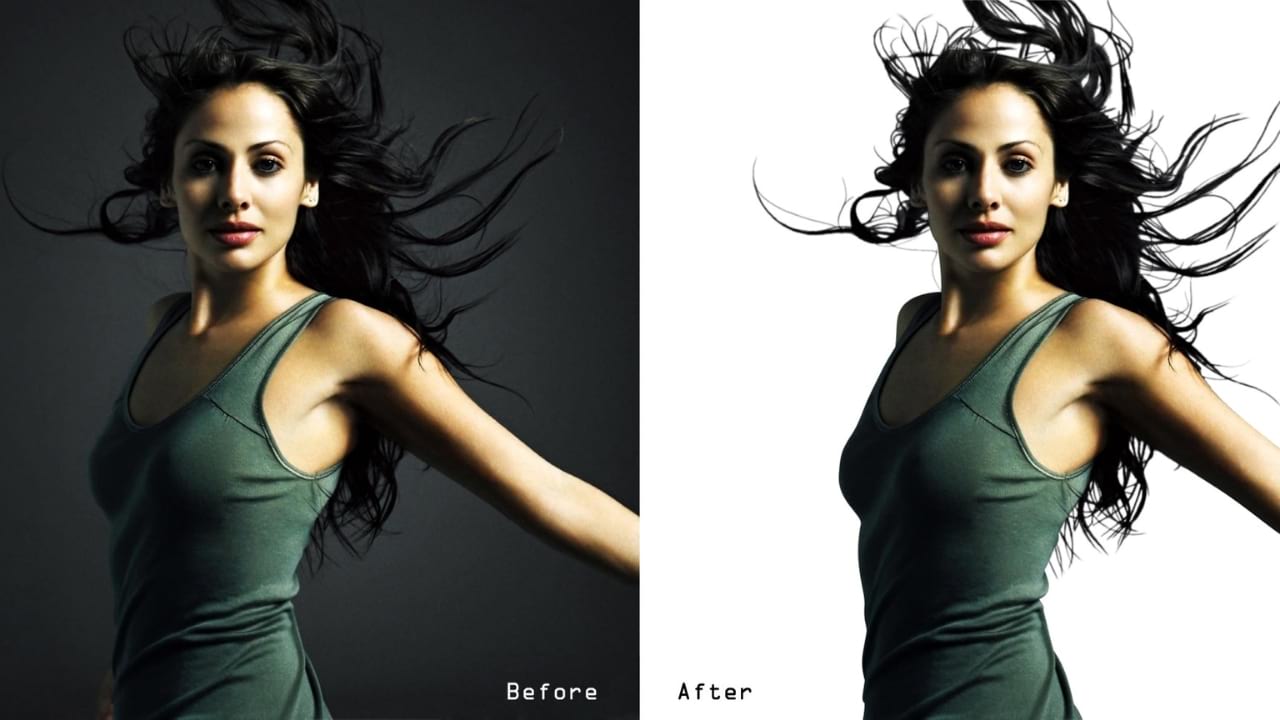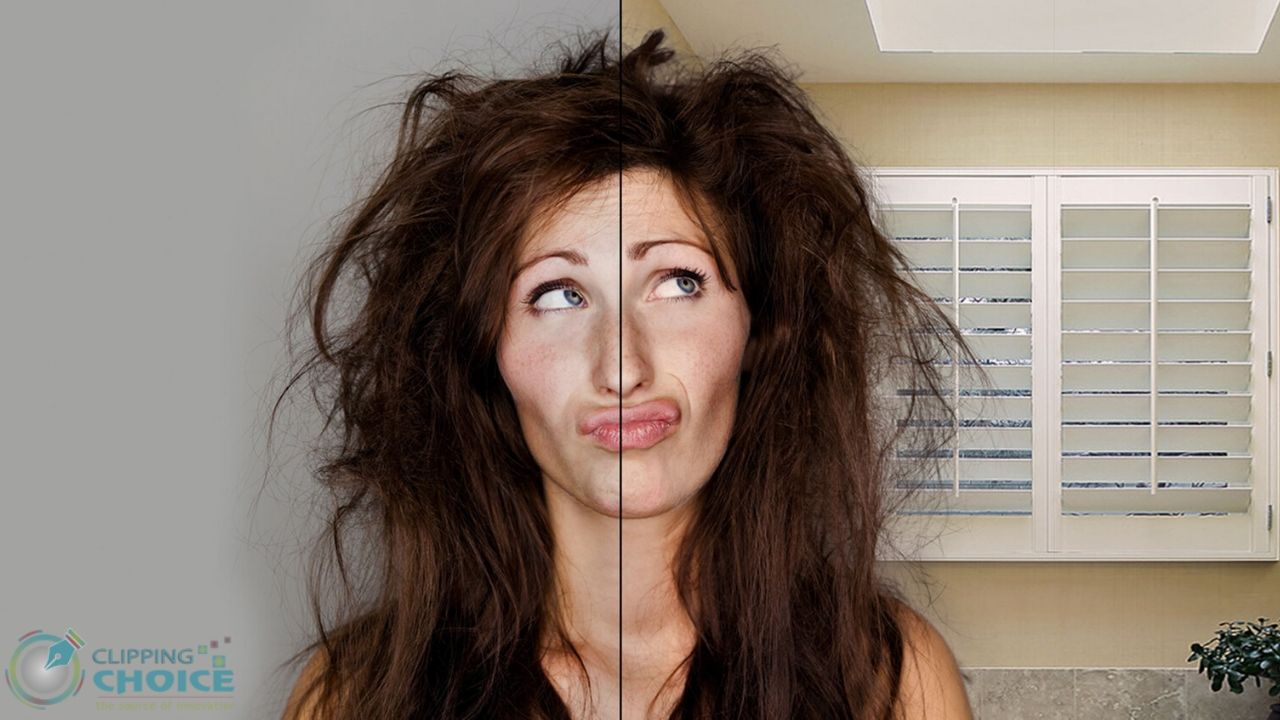
Image Masking Process
Masking an image or image masking is to set the pixel value of a particular picture. Image masking will set the background pixel of a particular image to zero/none. This means that there will be no background of the image. We can get the actual picture after masking an image.
Why Masking is necessary?
Masking an image is necessary because it helps us to cut out the unwanted parts. It helps to make the image more eye-catching.
Image Masking Process
Image masking process involves into multiple parts they are-
- At first you need to import the picture to the editing software. You can do it just by dragging them to the Photoshop software icon.
- Now you need to unlock the image, you can unlock it by clicking the lock that is on the picture at the right small image.
- Then use pen took to mark the area of the image, you have to fully select the picture before masking.
- Sometimes while working with Sharpe edge you might need to increase the pixel value for better result.
- Now the actual picture is selected so you need to move on masking, for masking we need to go to the select option and select the tool called select and mask.
- If any major or minor parts are missed during selection of the image, there is a nothing to worry because there is a quick selection tool that can be found top left of the software. You may add anything by using this tool.
- Now to add the missing part the view button is crucial because it will show us which parts you missed during selection and then use refine edge brush. It is the 2nd tool in top left.
- This time you may balance out the brightness of the photo or the contrast that you like best on the picture. Balancing out the brightness will make the picture more lively.
- If there is multiple layers found on the edge of the picture now you have to eliminate the layer effect. Now to eliminate the layers you have to select the layer mask. Now select add layer mask and the elimination process starts by selecting gradient. There are multiple gradient selection to be found like radio gradient, linear gradient. The radio gradient will be effective on the layers at a singular point but the linear gradient will select the whole and create a balance between the layers.
- Now the last think that you can do is to adjust the color, the color selection is to enhance the balance of the picture to create a masterpiece.
This ends your masking job and hopefully, this content will help you sharpen your skills in Photoshop and create better pictures.


