
Clipping path is one of the most used terms used in digital photography. Photography nowadays needs thousands of variation in their photos which became possible for this little Photoshop session.
What is Clipping Path?
To understand the topic clearly, at first we need to know what is clipping path? A clipping path is a tool to cut the 2D images by using photo editing software. It provides shape to the image and serves as a guideline for the image. Whatever stays inside the path will be shown in the output section, whatever remains out of the path will be erased from the output.
Why would you want to use the Clipping Path?
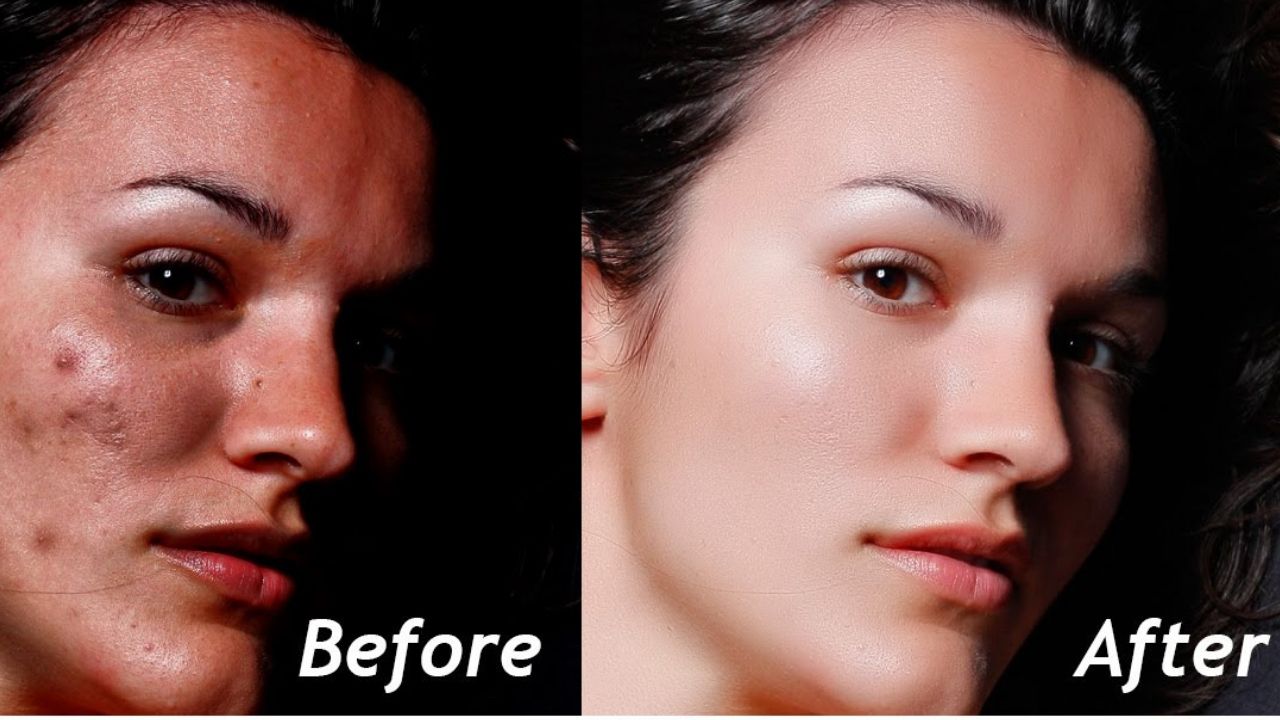
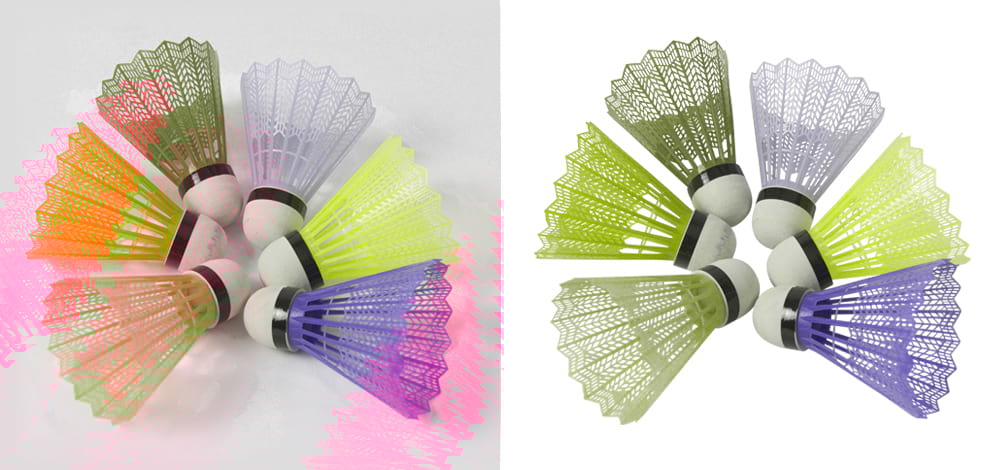
Clipping path helps us to change or remove the background of an image. It is the easiest way to edit your desired photo to your heart’s content. Clipping path does not require a professional hand, and anybody can learn to use the clipping path to edit pictures within a short amount of time. The sharpness of editing will improve day by day.
The complete procedure for a Simple Clipping Path
To use the clipping path at first, we need to select the picture we need to edit. There is an option for zooming the photo. We may climb as much as we need before editing. After we zoom the picture, we have to go to the pen icon situated 8th from the top left. When we point our mouse pointer to it, we may find multiple options, but we need to select the pen tool.
Then we need to check in the rubber band box which can be found in the toolbar. Following that, we have to go to paths that we can find at the right side of the editing software. There we have to create a new path. Now we can start using the clipping path. We need to start moving the pen through the edges of the selected picture.
While using the pen we need to make sure that we take minimum blank spots, this will make the picture sharper. It is recommended to take small lines and spare some space between lines, and short lines will reduce the chances of error. Then go to the pen icon again here we can find another symbol that denotes add anchor point the 3rd icon of the pen icon. It will fill the additional blank space that we left before. It will fulfill the line. When drawing the line if we need to pass through an angle we need to select convert point, and the convert point will adjust the path shape. The convert point can be found at the bottom of the path icon.
Before finishing, we should look for if there is any loop in the image from where the background can be seen. We may use the quick selection icon that can be found next to the path icon. Then cut out the unnecessary parts from the loop. Then we should select the path layer afterward select the quick mask icon found at the left bottom. It will help us check the whole path.
We may use multiple clipping paths in the same picture. If we want to add numerous clipping paths we have to save the clipping path and add another path. To finish our clipping path we need to go to the layers and then select the desired background color. The clipping path is done here now save the edited picture to your desired location.
Hope you find this tutorial helpful! But if you don’t get enough time to operate lengthy thing procedure and want to get your photos done like you did it own, here we provide the best photo clipping services available in the market. No matter how complex your photos are, we do it with a clean hand. So, mail us to send your sample images!
You may also interest: