Hello and welcome back to our hair masking tutorial class two. In our last content, we had talked about how the hairdo is done. Today we will talk about a real piece of an image which needs hair masking and how we will do that. So without any further ado let’s get started!
Hair Masking
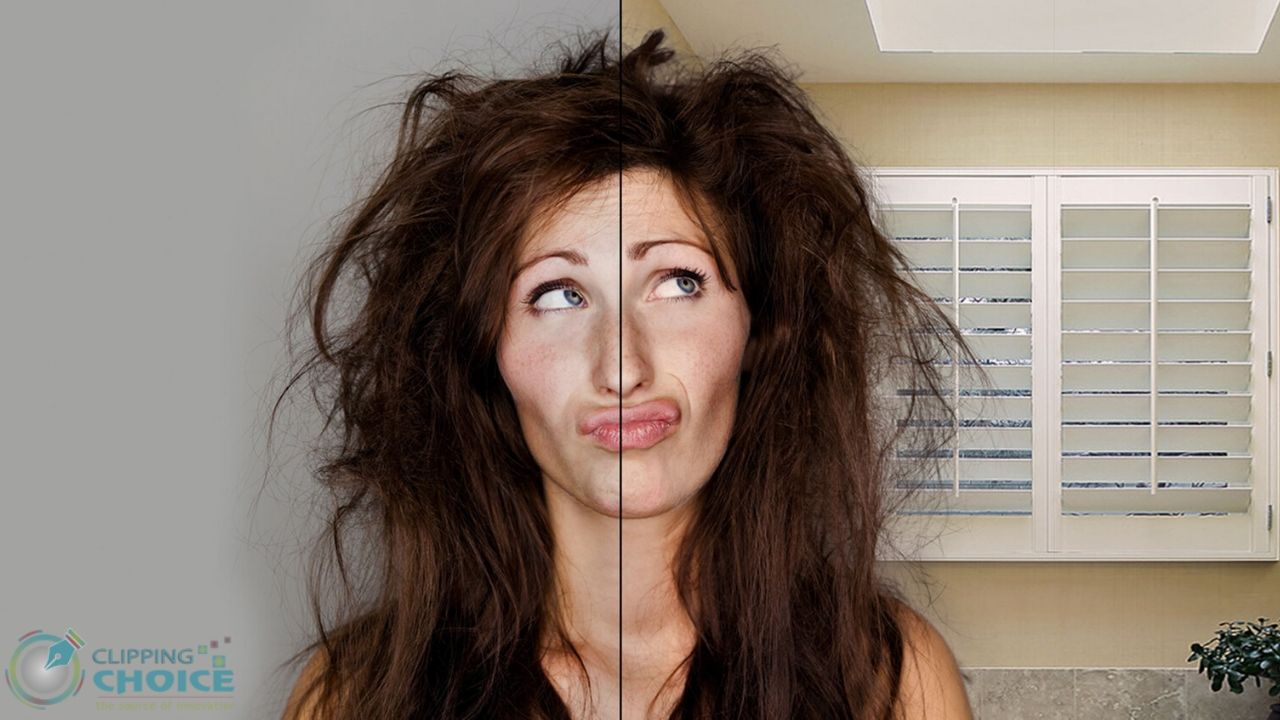
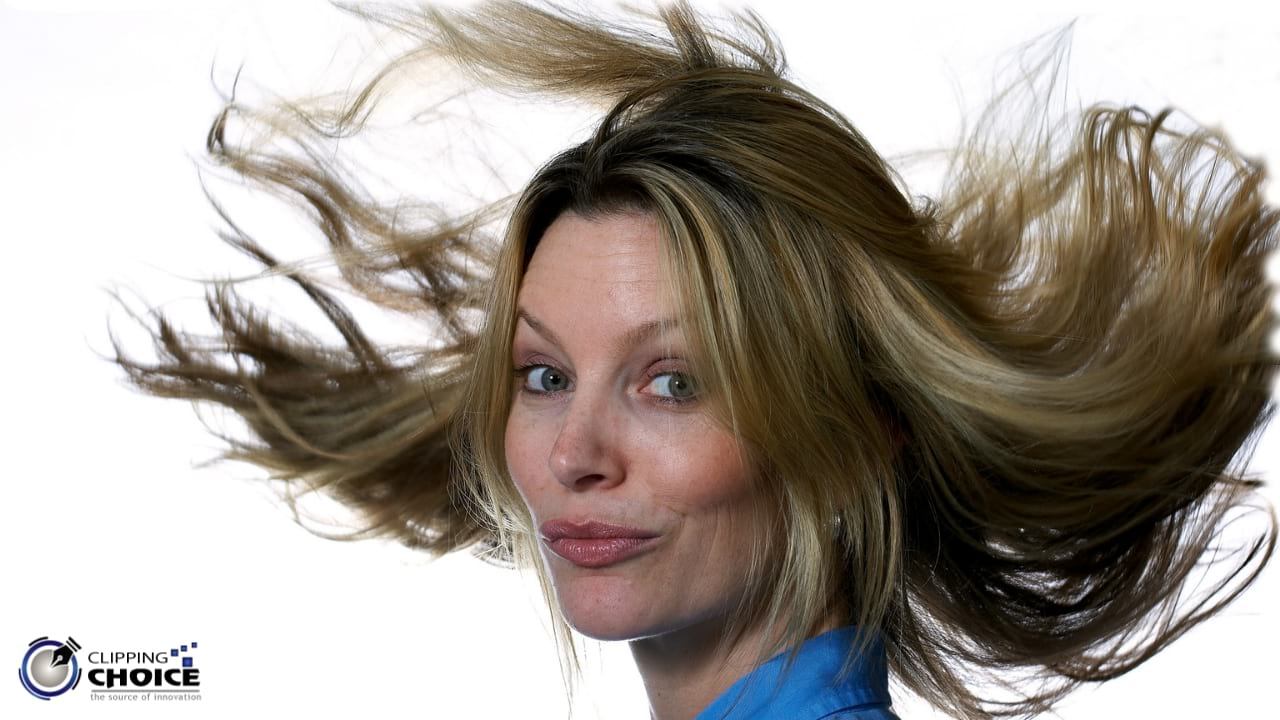
In our previous content, we talked about why you should shoot your picture in a gray background. Hope you got that and your current image is of a model that has got messy hair and gray background.
So, let’s jump into a practical example. By the way this image is submitted by Shaunie, who is a great portrait photographer. So, let’s go ahead and load up the background. We will be using here the pixel Photoshop plug-in to do that, so I will click on the background that will download the image and that will load up as a layer.
Now, here’s another thing I wanted to talk to you about, if you are not using the plug-in, what you can do is, you can go to file open the image that you want to keep as a background and locate it as a layer in this. You may already know the drill you will know how to do that! Or you can go to file place embedded and locate the background that will open up as a layer, as a smart object into the same document.
So, let’s go ahead and make it bigger and let’s resize the controller command T and let’s resize that.
Now do the same thing, change the blend mode from normal to overlay.
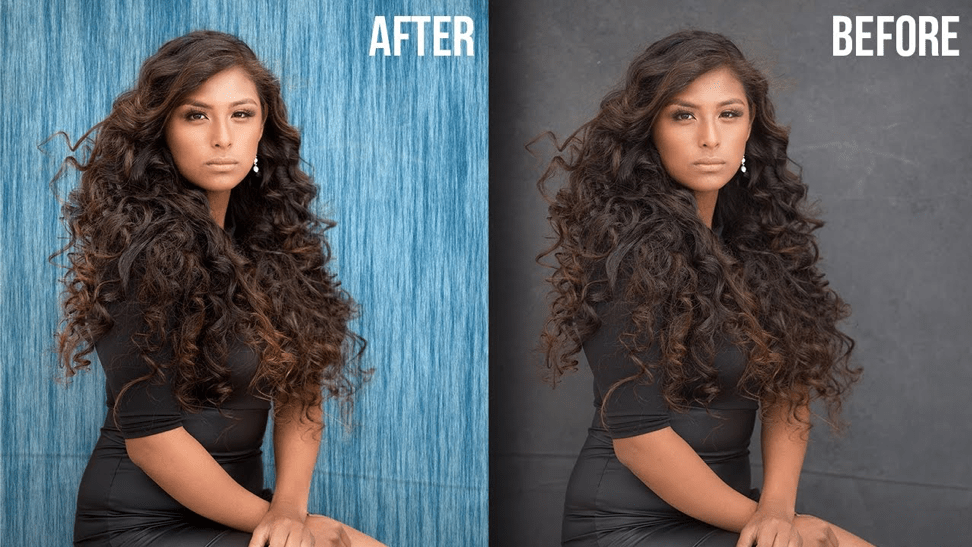
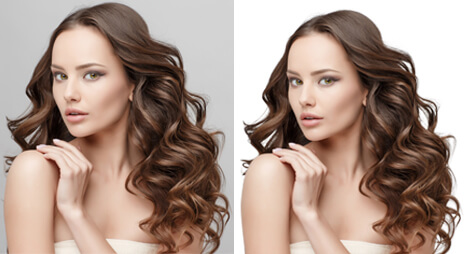
Have a look; this doesn’t quite look as awesome as the example one. Because in real life the subject is not that colorful, we need to adjust it. But, look at the hair! Look how beautifully the hair has been selected. We need to do a few adjustments but have it already look awesome!
Now, you might want to make the picture a little more brightened, so add curves just above the background layer and let’s increase the value just a little bit.
Let’s go back to the background layer and hide those areas which look funky. So, let’s come back to the background layer and create a mask. Okay now take a big brush, make it harder and paint a little outside from the subject. You may do it very quickly. You don’t have to be perfect just do it harshly. Now decrease the size of the brush here, make it softer and start painting along the edges with white color. Till now we painted with black, press X to toggle between black and white here and paint it slowly and steadily to the edges of your model. You can decrease the filter somewhere around 40 or 30 ish and let’s go ahead and do that fairly easily.
Check out now! The hair looks so perfect! And your job here is done!
If you still find it hard to do and you don’t get the time to do it we are always here for you! Order our packages and get your hair masking done greatly! We charge the lowest price for the beginner to a professional photographer.
So, what are you waiting for? Place your order today!